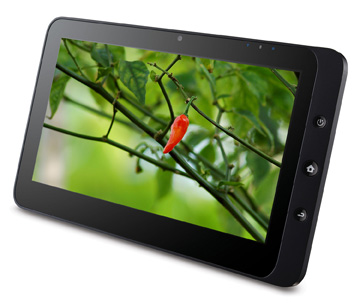
ViewSonic ViewPad 7 is one of those tablet PCs which were launched when this technology was new. And if you are a prroud owner of this ViewSonic tablet PC, you would surely want to root that. Yes, this post is actually the tutorial to root ViewSonic ViewPad 7.
We have already shared number of tutorials on rooting devices, which basically allow you to install thirdy party applications on it as you get its root access.

Root ViewSonic ViewPad 7
NOTE:To start with this rooting process you first need to make sure that you have administrative privileges on the computer. And also download the SuperOneClick.zip and extract the same.
STEP 1: First you need to boot the ViewPad 7 in USB debugging mode. For that, navigate it as Applications > Settings > Applications > Development > and check the box labelled as USB debugging.
STEP 2: Now connect your ViewSonic tablet PC to the computer.
STEP 3: Now you need to run the file that you have downloaded at the start. Once you extract the above mentioned file, you will find a folder labelled as SuperOneClickv1.6.5-ShortFuse and run the file, SuperOneClick.exe.
STEP 4: Now click on the button labelled as Root but before that, make sure that you choose the option labelled as rageagainstthecage in Exploit section.
That is it! This is how you can root ViewSonic ViewPad 7 which hardly takess few seconds.

isn’t the Viewsonic Viewtab 7 already rooted? I mean, it’s unlocked and you can simply click on the “allow” on other services than the Market Place. I mean this is one big fail of a tutorial, when you can even get the pix right.
I rooted mine with Gingerbreak. Yes, I know it’s a Froyo device, but Gingerbreak did the job direct on the device. Easy and painless. Just install and run Gingerbreak, run it and reboot. It’s been a few weeks now, no problems.
Once it’s rooted, use Link2SD to free up internal memory and turn this hopelessly cramped device into a very usable little tablet. Close to 200 apps installed and no more low memory warnings. The other must have app is Titanium backup.